Built with love by Lazar Dragos George. The content may not be distributed without my permission.
27 January 2025
How to publish a Golang Package?
Go Modules and Git
Unlike other ecosystems where you might upload a package to a central repository like npm or PyPI, Go treats your Git repository as the package registry.
If you're new to this, it means that instead of uploading your package to a Go-specific registry, Go fetches your code directly from your repository. This is a brilliant solution that perfectly describes the simplicity of the Golang language. It ties your code to Git, so your package's history and versions are transparent and immutable (as long as you don’t rewrite history).
Step 1: Set Up Your Repository
To get started, you need a public Git repository. GitHub is the most common choice, but other services like GitLab or Bitbucket work just as well. For this example, let’s assume you’re using GitHub.
- Create a new repository on GitHub.
- Clone it to your local machine.
- Initialize your Go module by running:
go mod init github.com/lazarcloud/go-helloThe module path (e.g., github.com/lazarcloud/go-hello) is critical, it must match your repository URL exactly. Go uses this to locate your package later.
Step 2: Write Your Code
This is the fun part! Write your package code as you normally would. For example, let’s say you’re building a simple hello package:
// package hello provides a hello world function.
package hello

import "fmt"

// SaySomething says hello to the user.
func SaySomething() {
	fmt.Println("Hello, world!")
}
Once you’re happy with your code, add some tests (*_test.go files) and a README.md file to make your package user-friendly. Don't forget about the comments to help pkg.go.dev document our package.
Golang Exports
In Go, any identifier that starts with a capital letter is automatically exported, meaning it becomes accessible outside the package. To maintain a clean and intuitive API, only export what is truly necessary. Keep internal details unexported to avoid exposing implementation specifics, reduce potential misuse, and simplify your package for users.
Adding a License to Your Go Package
Adding a license is essential for sharing your code, your package won’t appear on pkg.go.dev, which only supports these licenses. Simply create a LICENSE.md file in your repository root with the license text; use Choose a License to find the right one.
Step 3: Version Tags
Here’s where I tripped up the first time. Go modules rely on semantic versioning (SemVer) and Git tags to manage package versions.
- SemVer format: vMAJOR.MINOR.PATCH (e.g., v1.0.0).
- The first version of your package should always start with v0.1.0 (for pre-release) or v1.0.0 (if it’s production-ready).
To create a version tag, commit all your changes and push them to your repository. Then, create a Git tag:
git tag v0.1.0
git push origin v0.1.0
Without a tag, Go won’t recognize your package version, and your users may face unexpected breaking changes since, without a proper version tag, Go defaults to fetching the latest commit.
If you don't have proper tags users will see the semantic version of the last commit.
Step 4: Test Your Package
Before announcing your package to the world, test it to ensure everything works as expected. Try importing it into a new Go project:
package main

import (
    "github.com/lazarcloud/go-hello"
)

func main() {
    hello.SaySomething()
}
Run go get "github.com/lazarcloud/go-hello" to verify Go can fetch your package. If it works, congrats, you’re officially published!
Test without redownloading?
Testing a package during development can feel tedious if you have to push changes and re-download repeatedly. Luckily, Go's replace directive lets you point to a local directory instead of a remote repository. This way, you can test changes in real time without the extra hassle.
Here’s how to do it:
- Navigate to the package directory and get its absolute path:
pwdExample output:
C:\Users\lazar\Documents\GitHub\hello
- Go back to your project directory and use the go mod edit command to add the replace directive:
go mod edit -replace github.com/lazarcloud/go-hello=C:\Users\lazar\Documents\GitHub\go-hello- Verify the updated go.mod file, which now includes the replace directive:
module example

go 1.23.0

require github.com/lazarcloud/go-hello v0.1.0

replace github.com/lazarcloud/go-hello => C:\Users\lazar\Documents\GitHub\go-hello
Now you can edit your package locally and immediately see the changes reflected in your project when you run it.
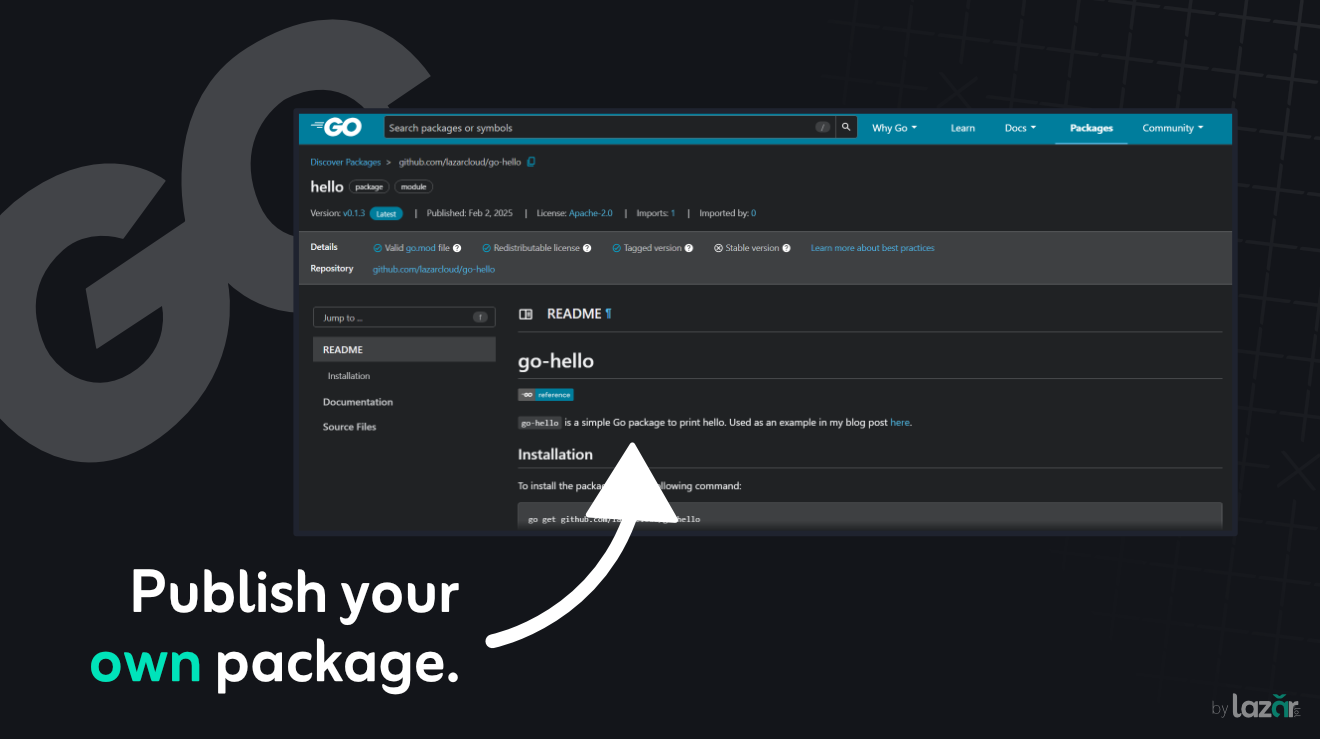
Step 5: Write a README.md
To help your users find the official documentation generated by pkg.go.dev, consider adding a README.
Here’s an example:
# go-hello [](https://pkg.go.dev/github.com/lazarcloud/go-hello)
`go-hello` is a simple Go package to print "Hello." It is used as an example in my blog post [here](https://bylazar.com/blog/publish-golang-package/).
## Installation
To install the package, run:
```bash
go get github.com/lazarcloud/go-hello
```
Step 6: Example Functions for Docs
When documenting your Go package, providing example functions in your test files is an effective way to showcase how your package should be used. The Go documentation system uses these example functions to generate examples on pkg.go.dev, making it easy for users to understand how to use your package at a glance.
To write example functions for your Go package, simply create a test file with functions that show how each feature works in a practical scenario.
Here's an example of how to add a simple example function to your hello package:
package hello_test

import (
	"github.com/lazarcloud/go-hello"
	"testing"
)

func ExampleSaySomething() {
	hello.SaySomething()
	// Output: Hello, world!
}
How It Works
- The ExampleSaySomething function demonstrates how to call the SaySomething() function from your package.
- The // Output comment specifies what the output should be when the function is executed.
- When users view the documentation for your package on pkg.go.dev, they will see the example output along with the source code.
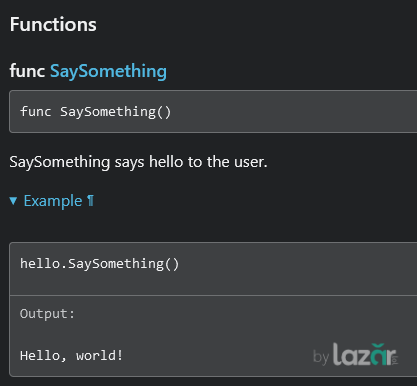
Examples for SaySomething function.
More advanced example functions can be found here.
Step 7: Keep It Updated
As you improve your package, remember to increment the version number according to SemVer rules:
- PATCH: Bug fixes (e.g., v1.0.1).
- MINOR: Backward-compatible features (e.g., v1.1.0).
- MAJOR: Breaking changes (e.g., v2.0.0).
Each time, create a new tag and push it to Git. Go will handle the rest.
Few Lessons I Learned
- Make Your Repo Public: Go can’t fetch packages from private repos unless you configure authentication (which is another topic entirely).
- Semantic Versioning Isn’t Optional: Without proper tags, Go will complain, and your users will suffer. Save yourself the headache.
- Documentation Matters: A good README.md and inline comments make your package 10x more approachable.
Further reading
- Official publishing guide
- Best practices
- My example package on GitHub
- My example package on pkg.go.dev
- A more advanced package on GitHub
Publishing my first Go package was a little intimidating at first, but it ended up being an incredibly rewarding experience. There’s something surreal about seeing your package being imported and used in someone else’s project. If you’re on the fence about publishing, I say go for it. You might just make someone’s life a little easier and isn’t that what open source is all about?