Built with love by Lazar Dragos George. The content may not be distributed without my permission.
4 March 2025
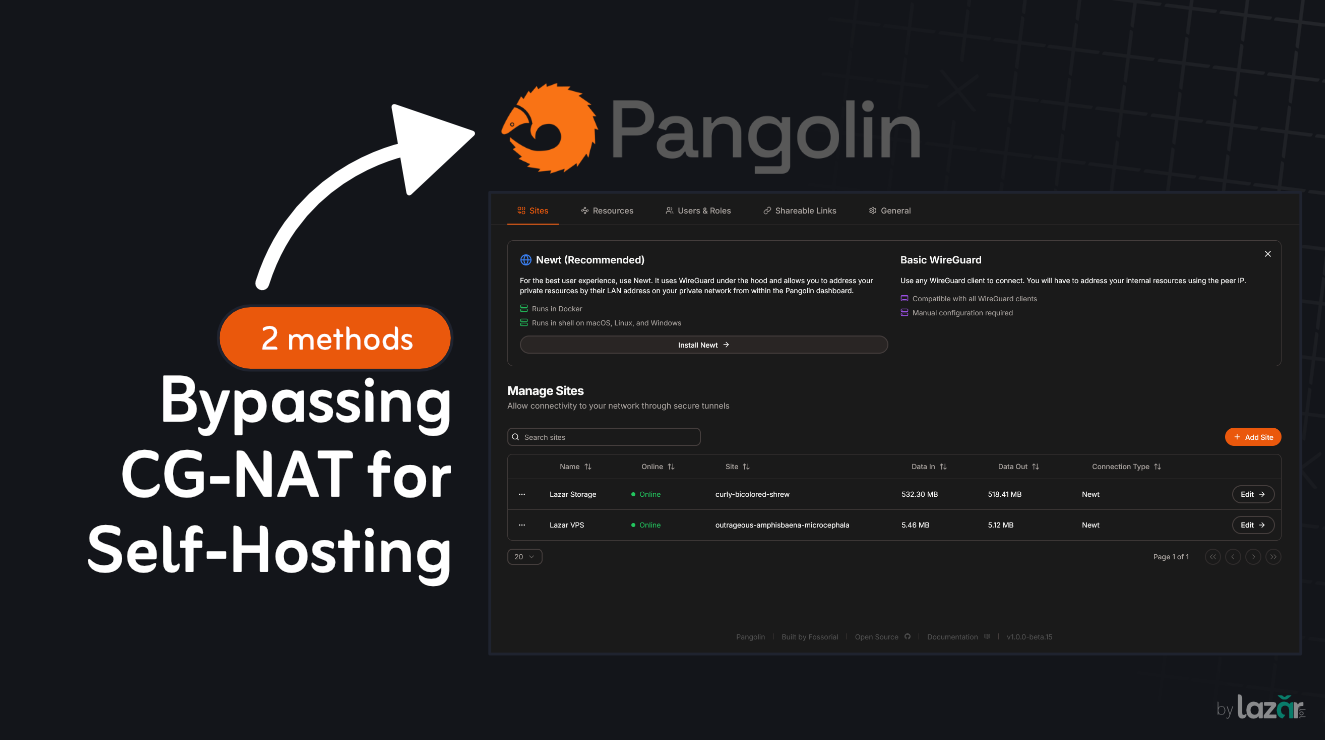
Bypassing CG-NAT for Self-Hosting: Two Approaches
Self-hosting is amazing, but if you’re behind CG-NAT, it can also be a real headache. Sure, you can request a static IP, but if that’s not an option or the cost is too high, there’s a clever workaround: use an external server with a public IP to proxy your traffic.
Method 1: Manual Setup
One way to bypass CG-NAT is to set up your own reverse proxy on an external server (with public IP) paired with a tunneling service. This gives you full control over your configuration, but it comes with a few challenges:
- Manual Setup: You’ll need to configure and maintain several components.
- SSL Management: The setup of SSL can be tedious.
- Time Investment: The initial setup can be quite lengthy.
- Migration Hassle: If you change VMs, you’ll need to redo the entire setup.
For more community insights and detailed experiences, check out this Reddit discussion.
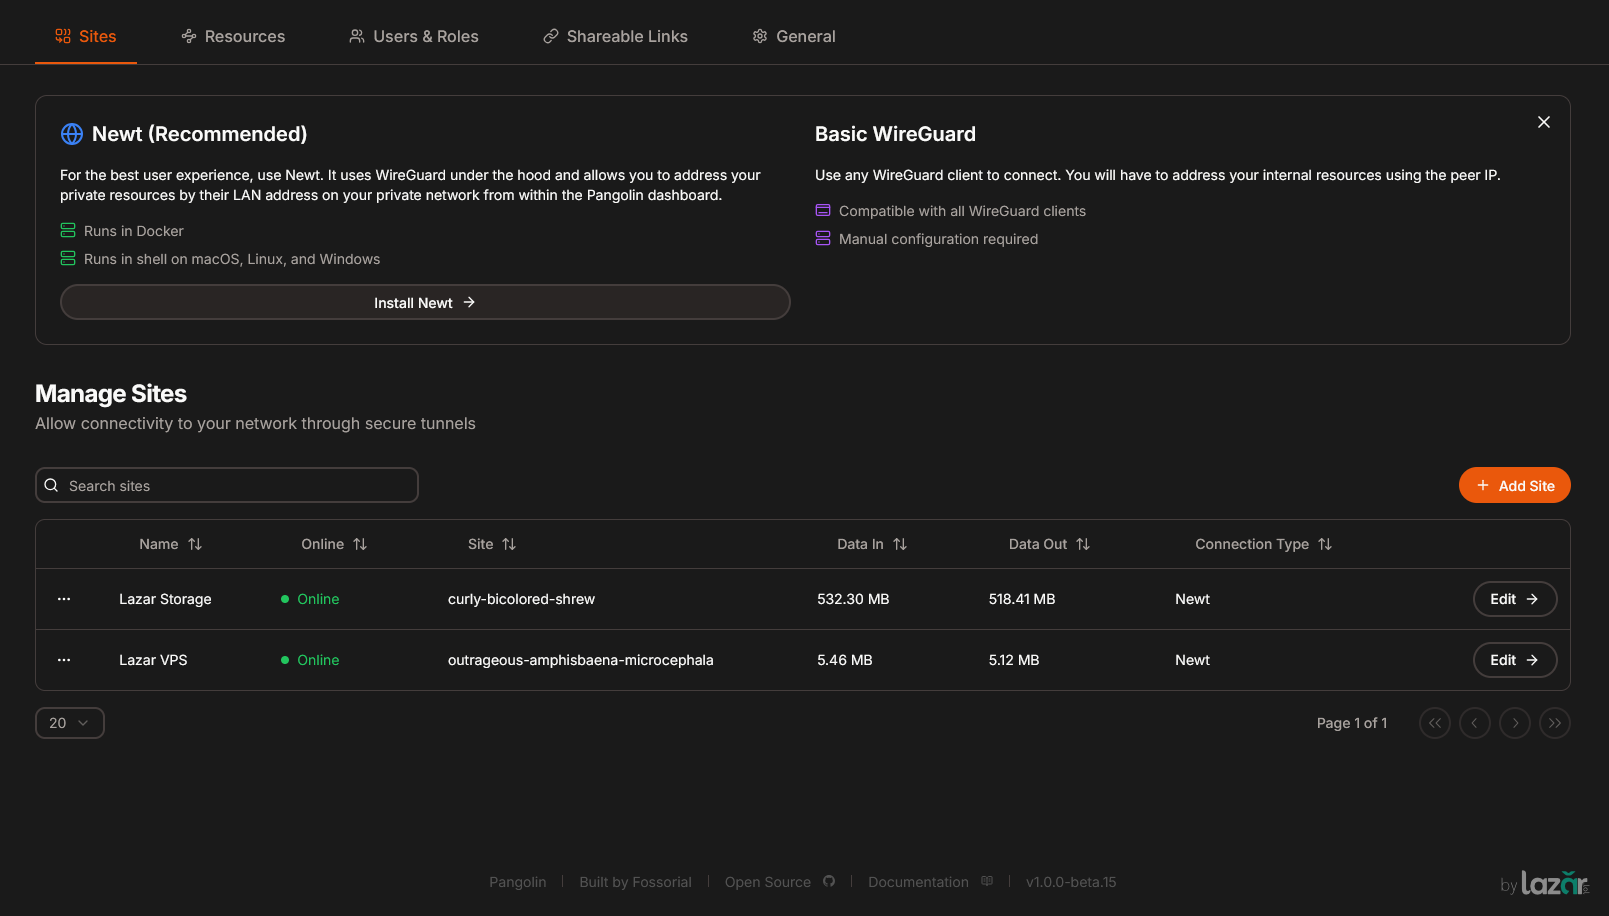
Method 2: Using Pangolin
If you’re after a more streamlined solution, Pangolin might be the answer. This self-hosted tunneled reverse proxy server offers identity and access control, making it easier to securely expose your private resources even if you’re stuck behind a NAT.

Prerequisites
- A Linux system with root access and a public IP
- A domain
Step-by-Step Setup
1. Obtain a Virtual Machine:
There are plenty of free and paid options available. Check out the Cloud-Free Tier Comparison for a list of providers.
2. Configure DNS with Cloudflare:
Point your IP to Cloudflare. You can use wildcard DNS for both *.lazar.lol and lazar.lol to simplify management.

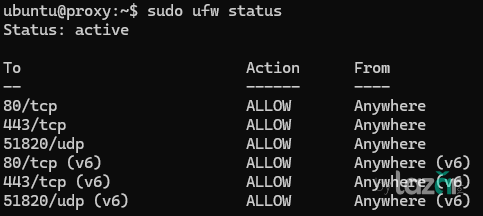
3. Open the Required Port
First, ensure that ufw is installed and enabled:
sudo apt update
sudo apt install ufw
sudo ufw enable
Then, allow the necessary traffic:
sudo ufw allow 80/tcp
sudo ufw allow 443/tcp
sudo ufw allow 51820/udp
sudo ufw status
You should see ports 80, 443, and 51820 listed as allowed.
4. Using the Pangolin Installer:
Create a directory for Pangolin files and download the installer:
mkdir tunnel && cd tunnel
wget -O installer "https://github.com/fosrl/pangolin/releases/download/1.0.0-beta.15/installer_linux_$(uname -m | sed 's/x86_64/amd64/;s/aarch64/arm64/')"
chmod +x ./installer
sudo ./installer
Answer all the prompts during installation. For more details, refer to the Quick Install Guide.
Extra: Hiding Your IP
Pangolin also allows you to hide your real IP using Cloudflare’s proxy service. Follow these steps:
1. Enable Cloudflare proxy

2. Edit the Configuration File:
sudo nano config/config.ymlChange your configuration from:
gerbil:
    start_port: 51820
    base_endpoint: "example.lol"
    use_subdomain: false
    block_size: 24
    site_block_size: 30
    subnet_group: 100.89.137.0/20
to:
gerbil:
    start_port: 51820
    base_endpoint: "your ip"
    use_subdomain: false
    block_size: 24
    site_block_size: 30
    subnet_group: 100.89.137.0/20
3. Restart Pangolin:
sudo docker compose down
sudo docker compose up -d
Further Reading
- Reddit: How to Bypass CG-NAT and Expose Your Server
- Awesome Tunneling Solutions (including ZeroTier, VPS & NGINX setups)
- Pangolin on GitHub
- Pangolin Documentation
Both methods have their pros and cons. If you enjoy tinkering and need full control, the manual approach might be for you. However, if you want a simpler, more modern solution, give Pangolin a try. Happy hosting!